

You’ve spent a fortune on your renovation, but your finished tile work still feels a bit off? Many homeowners stumble at this step! Laying tiles may seem straightforward, but it hides many “deep water” pitfalls. Even one small, overlooked detail can ruin the overall feel of your home.
Today, let’s uncover the six essential details in tile installation. We’ll show you how to choose the right materials, the right team, and the right methods—so your renovation shines both inside and out.
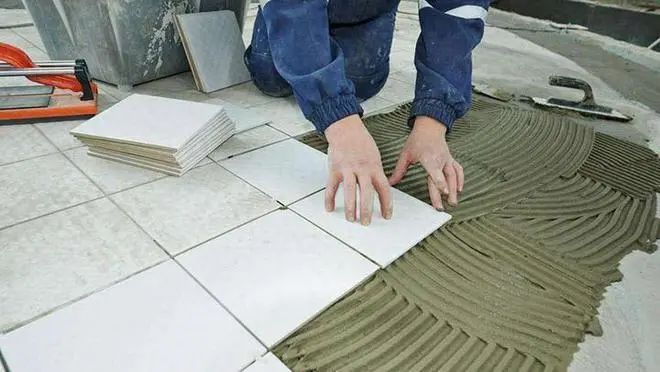
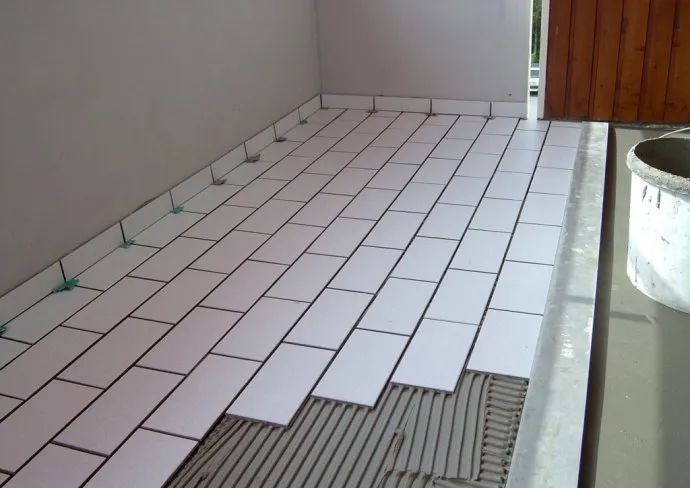
1. Rehearse Before You Lay—Tile Layout Is Step One
Laying tiles isn’t like putting together a puzzle—just slapping them on can have serious consequences. Whether you're going for a seamless layout or color-matching patterns, pre-planning and dry-laying your design is crucial. For custom-shaped tiles, on-site mockups are essential to adjust measurements.
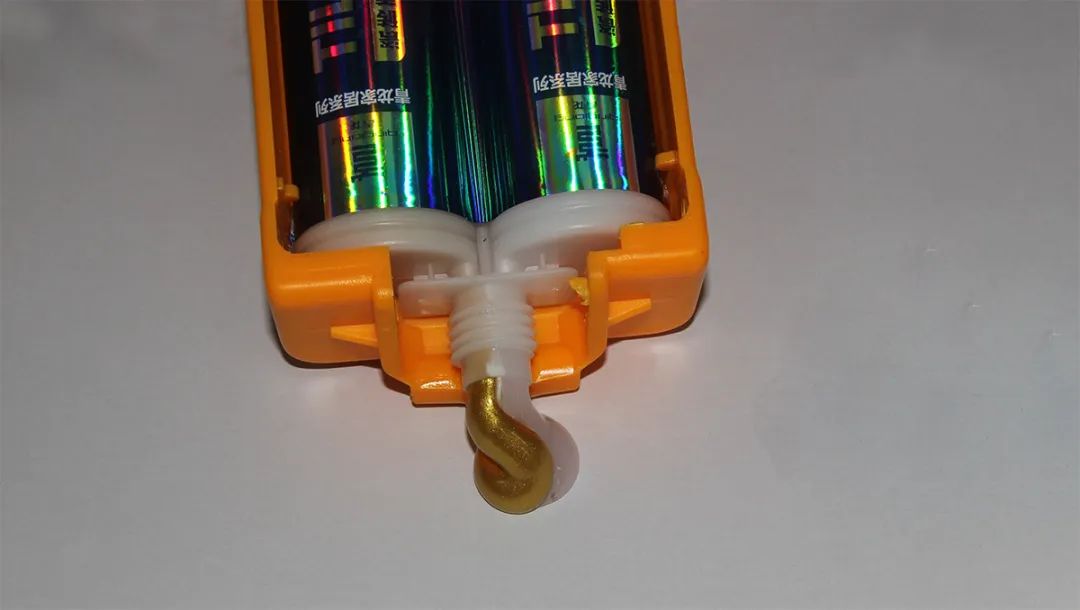
Tip from Qinglong: When planning the layout, also consider using high-quality tile adhesive. A strong adhesive not only ensures better bonding but also prevents hollow spots, giving you peace of mind.
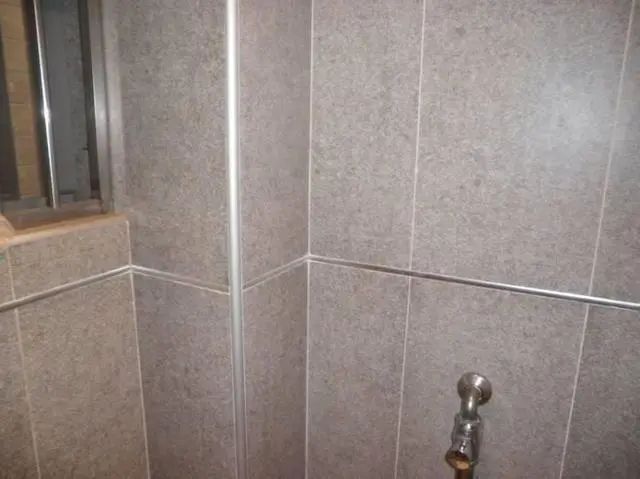
2. Don’t Cut Corners on External Corners—Use Bullnose Cuts for a Premium Look
External corners are where attention to detail really shows. While plastic corner trims are easy to install, if you're aiming for a more high-end look, bullnose or mitered corners are the way to go. These require skilled craftsmanship but yield stunning results.
Tip from Qinglong: Pair bullnose edges with Qinglong tile adhesives for strong adhesion and easier application, helping you achieve flawless finishes.
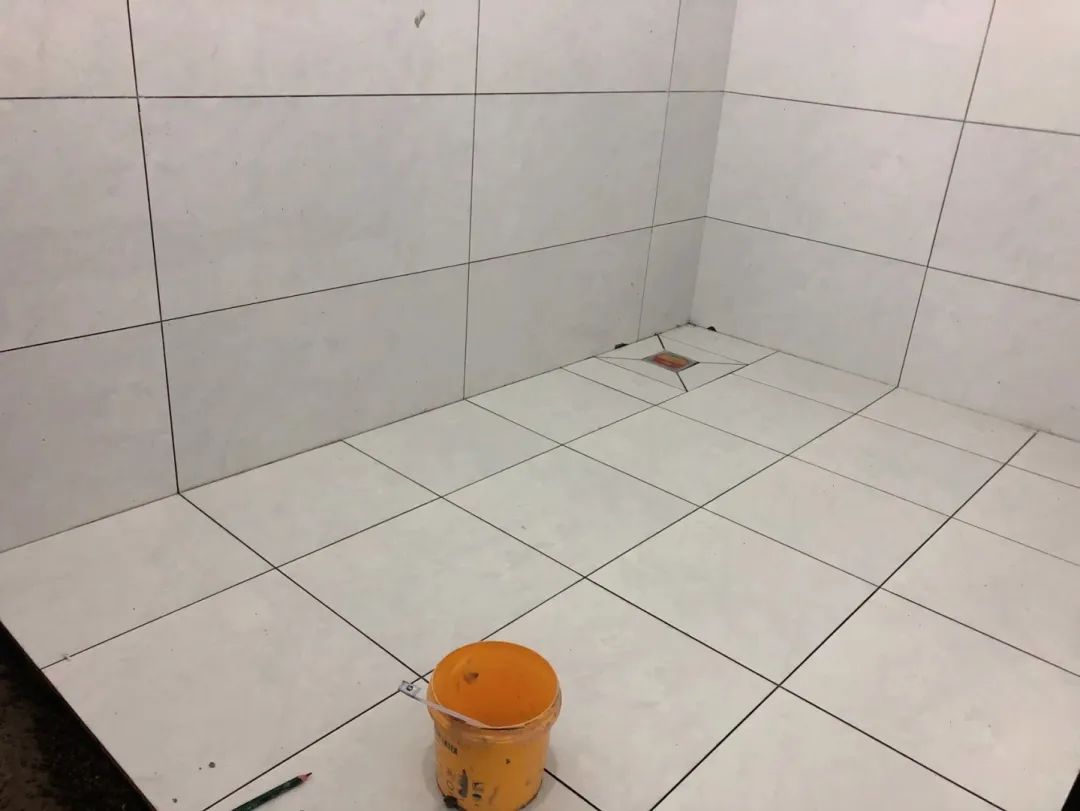
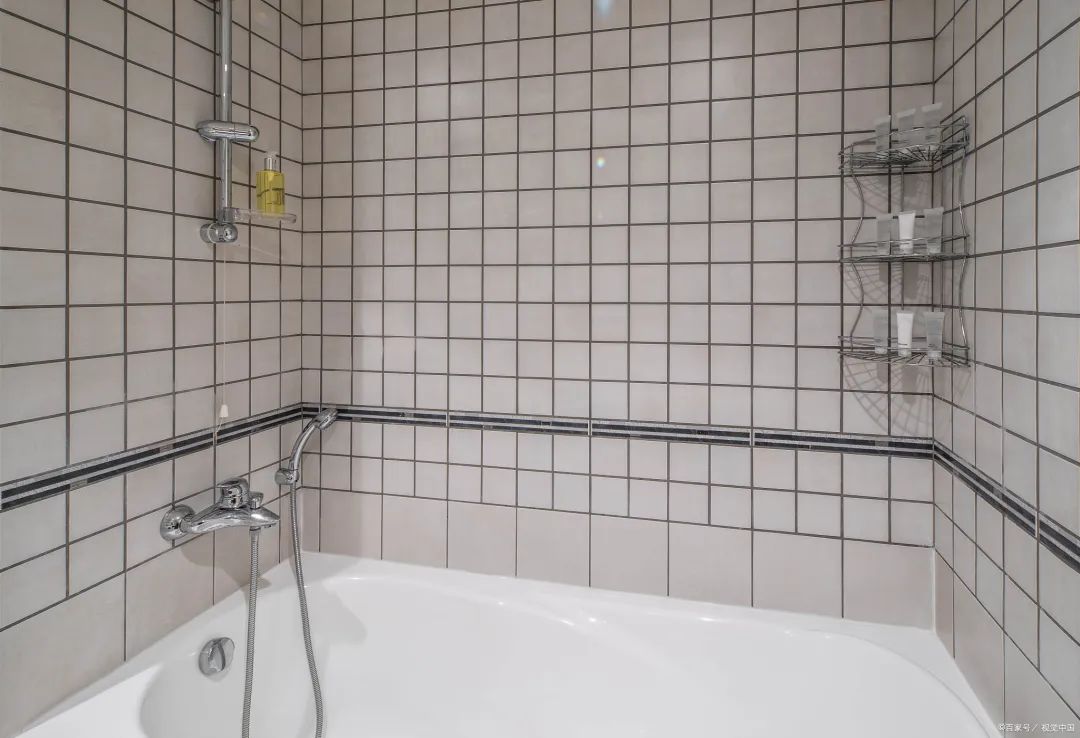
3. Align Wall and Floor Tile Joints—It’s the Mark of Quality
When wall and floor tiles don’t align, it disrupts the visual harmony. This is especially true with today’s popular large-format tiles, where aligned joints enhance the sense of space and structure.
This step requires both careful craftsmanship and the right materials like tile adhesives and grouts.
Tip from Qinglong: Their multifunctional tile adhesive ensures tiles adhere firmly to walls, reducing the risk of hollow spots or detachment.
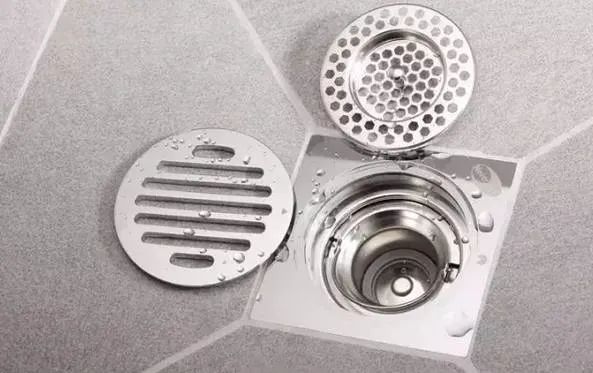
4. Don’t Judge Drains by Looks Alone—Drainage Speed Is Key
The way you tile around the floor drain directly affects water drainage. The current standard is a “square loop” layout with four slopes guiding water toward the drain. This design helps prevent water buildup and makes cleaning easier.
Tip from Qinglong: For homeowners who also care about aesthetics, Qinglong offers a line of waterproof coatings that work perfectly with precise drain layouts, giving you a bathroom that’s both beautiful and functional.
5. After Tiling, Mark Utility Lines Clearly
Many homeowners only realize this after renovation—when they drill into a wall to install a towel rack and hit a water pipe!
Tip: Once wall tiles are in place, mark all water and electrical lines clearly. This helps avoid accidents and makes future adjustments safer and more convenient.
6. Hide Cut Tiles for a Cleaner Look
How you manage cut tiles can greatly affect the visual impact of a room. First impressions count—full tiles at entry points make a space feel refined.
Tip from Qinglong: Hide half-tiles or cut tiles behind sofas, beds, or TV stands. Use Qinglong’s premium grout for rich color, durability, and a seamless look—even in the smallest details.
There’s No Such Thing as a “Small” Detail in Renovation—Tiling Is Where It All Comes Together.
Master these critical points and pair them with Qinglong’s high-quality products to ensure your home is not only beautiful, but also durable and stress-free.
The formula for a flawless renovation: Quality materials + Skilled workmanship = No regrets.


