

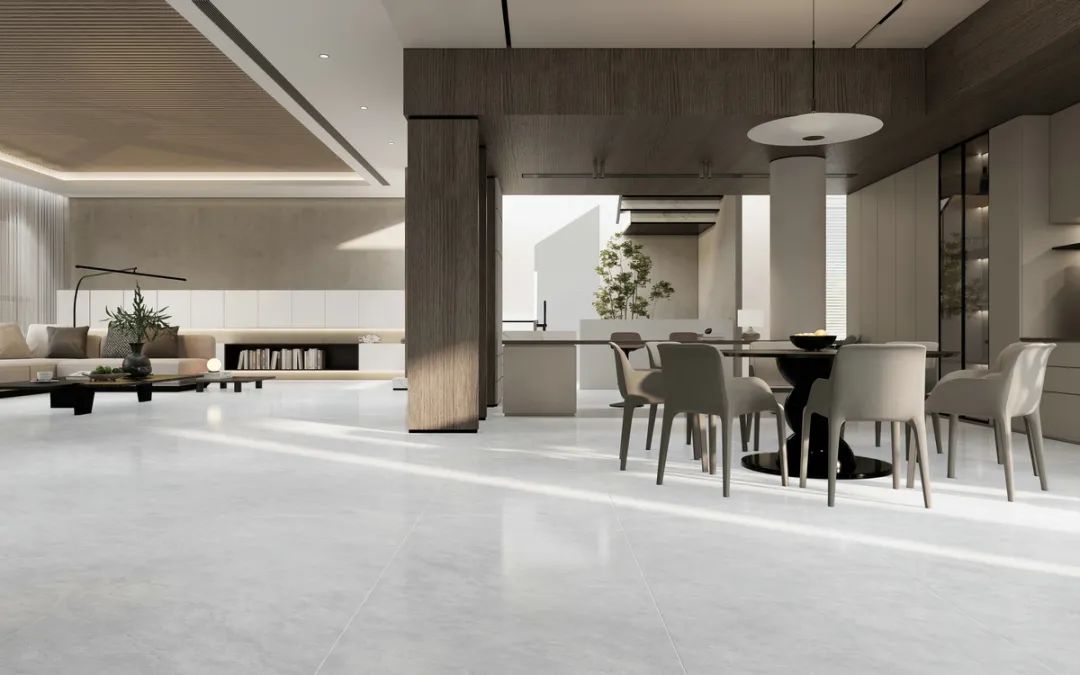
In home renovations, the kitchen and bathroom are the most common areas where tiles are installed. After all, tiles are not only aesthetically pleasing and durable but also effectively waterproof and moisture resistant. However, have you ever encountered issues like hollow tiles, tile detachment, or uneven installation? These problems not only affect the appearance but may also pose safety risks. So, how can you avoid these renovation issues? Today, we’ll reveal some essential tips for tile installation to help you easily create a perfect and hassle-free home environment!
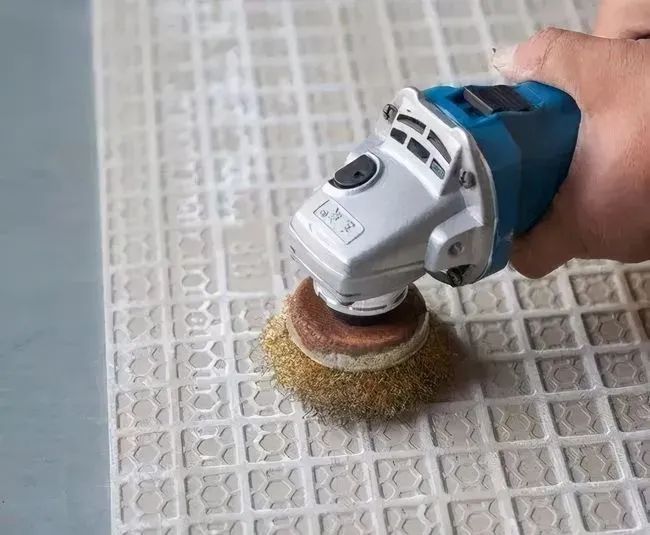
01. Clean the Back of the Tiles to Prevent Bonding Issues
The back of tiles often retains release agents, which can hinder the effective contact between the tiles and adhesive, reducing bonding strength. To avoid hollow spots and detachment after installation, the back of the tiles must be cleaned before laying. You can use a wire brush to scrub and clean them, then wipe them with a clean cloth to ensure no impurities remain.
02. Base Preparation to Avoid Unevenness and Layering Issues
Before installing tiles, you must check if the base is clean and even. If there are contaminants, dust, or issues like hollow spots or cracks on the wall or floor, these can affect the adhesion of the tiles. Therefore, base preparation is crucial, and any necessary adjustments and cleaning should be done. Additionally, it is best to moisten the base a day before installation, maintaining 30% to 70% humidity, which helps the adhesive set more effectively.
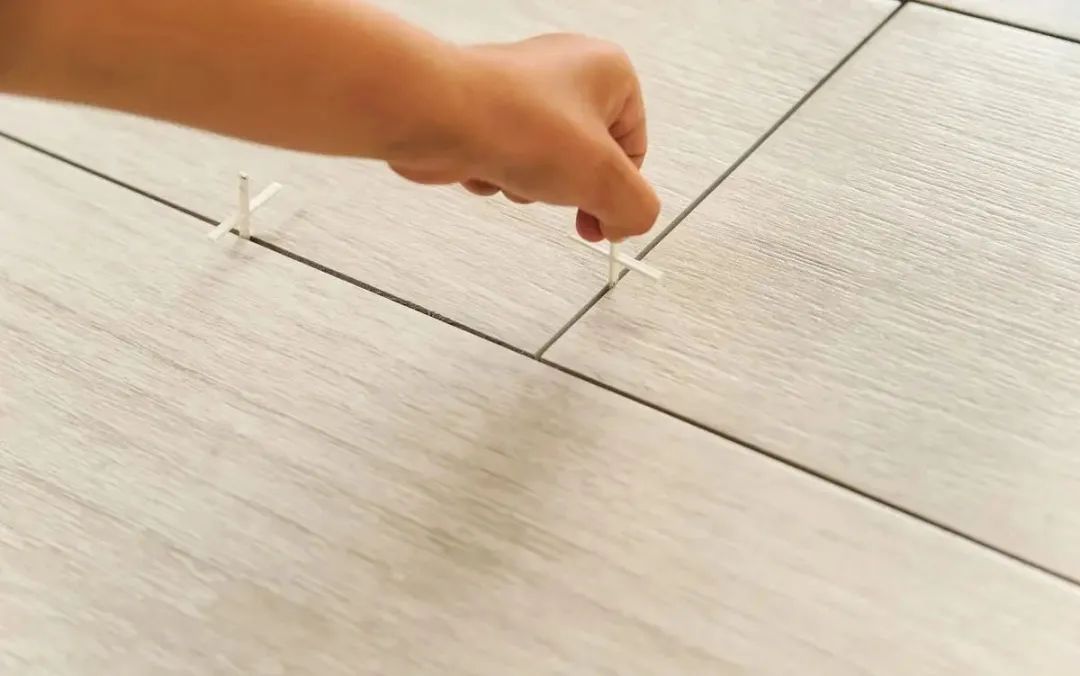
03. Leave Gaps Between Tiles to Prevent Deformation
Tiles expand and contract with temperature changes, so it’s essential to leave gaps during installation. Proper spacing between tiles will prevent deformation or detachment due to thermal expansion and contraction. The gap size depends on the type of tile; typically, glazed tiles have a gap of 1.5-2mm, polished tiles require 3mm, and antique tiles and cultural stone tiles may have slightly larger gaps. Remember, leaving gaps is not only for aesthetics but also prevents uneven tiles due to dimensional errors or installation issues.
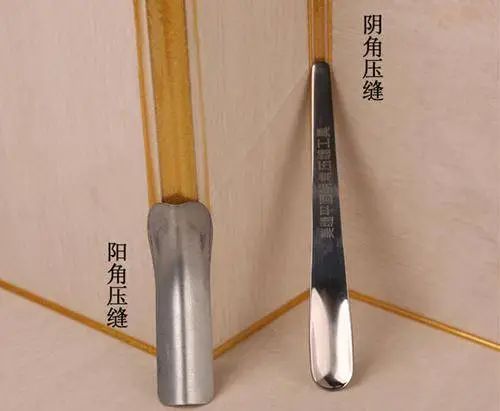
04. Corner Treatment to Enhance the Aesthetic
The corner where two walls meet is known as the external corner. Common treatment methods include beveling or using corner strips to cover the edges. Avoid directly connecting tiles at the corner, as this not only looks unattractive but also makes the edges prone to impact. For simpler construction and a better effect, choose corner strips to create a smoother finish.
05. Tile Alignment to Improve Overall Aesthetic
When laying tiles, the grout lines between wall tiles and floor tiles should be aligned. If the grout lines are not aligned, the overall effect will appear disorganized and unattractive. Although aligning the grout lines requires time and effort, we strongly recommend that the installer ensures proper alignment for a neat and appealing finish.
06. Drilling Tiles: Avoid Hollow Areas
If you need to drill holes in the tiles, it’s best to choose a location where two tiles meet. If that’s not possible, you can drill in the center of a tile, but avoid drilling along the edges, as this can lead to cracks. Before drilling, check for any hollow spots, as drilling in hollow areas can cause the tile to detach or crack.
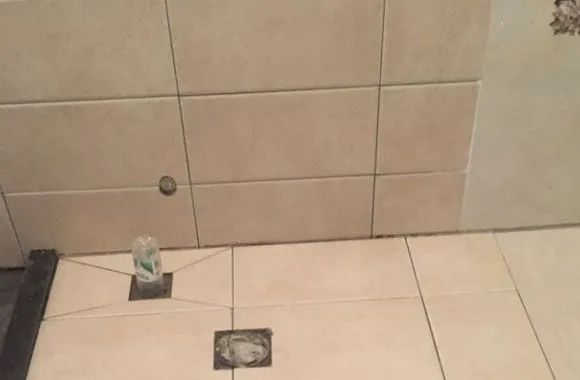
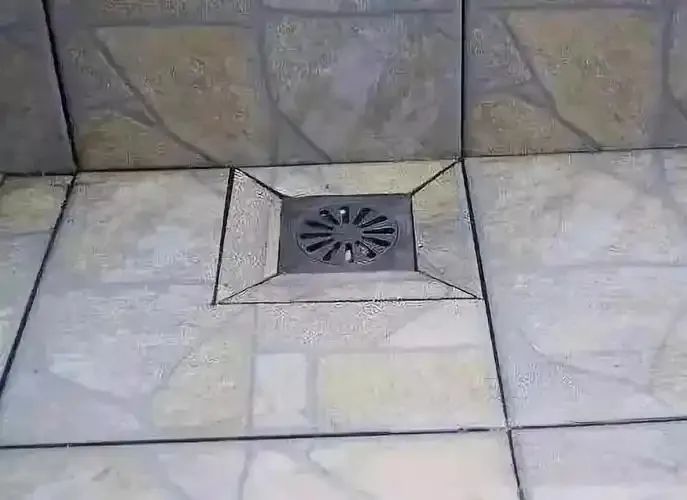
07. Drainage Treatment to Ensure Smooth Water Flow
For bathroom floors, the slope design must be considered to ensure water can drain away smoothly. When installing floor tiles, the four corners around the drain should be cut to ensure the tiles are laid in a funnel shape, avoiding direct placement of tiles around the drain opening. Without proper slope design, water will not flow toward the drain, potentially leading to water pooling.
08. Hollow Spot Check to Ensure Tiles Are Secure
12 hours after laying the tiles, lightly tap the surface with a wooden mallet. If you hear a dull "hollow" sound, it indicates a hollow spot, and the tile must be re-laid. To prevent hollow spots, especially in dry weather, lightly spray water on the wall before installing the tiles, which will help increase surface humidity and aid in the adhesive curing process.
By following these tips, you can significantly reduce common problems during tile installation, ensuring each tile in your home is firmly bonded, maintains its beauty, and remains safe. During renovations, details are crucial, and with these techniques, creating a perfect home environment is no longer a challenge!


